F.A.Q.
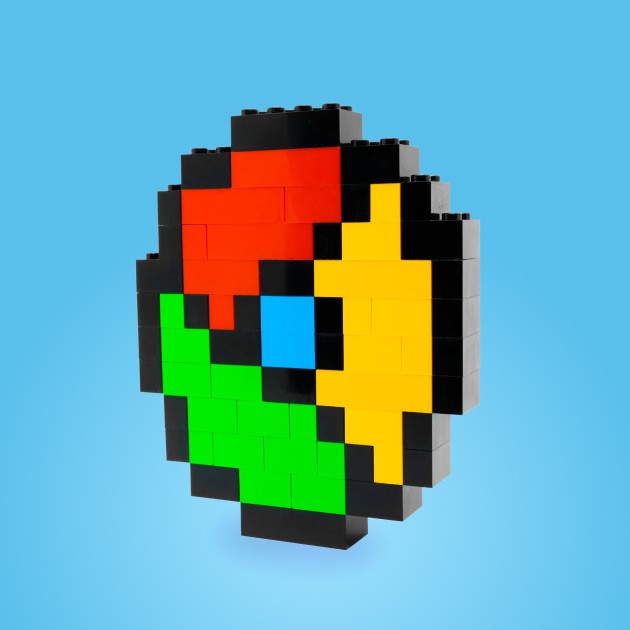
How can I build my own pixel art? 🤔
For an easier start get the Starter Kit.
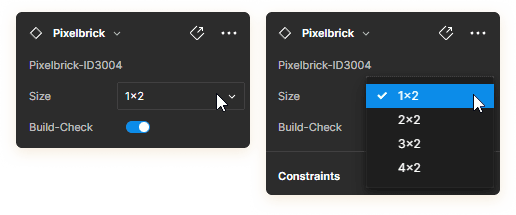
Choose between the sizes:
Do not edit the components! Each one has a unique ID that the plugin uses to identify the correct brick. Otherwise, you'll end up ordering the wrong brick sizes.
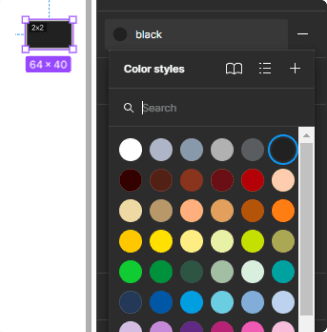
2. Changing colors
Change colors via Color styles.
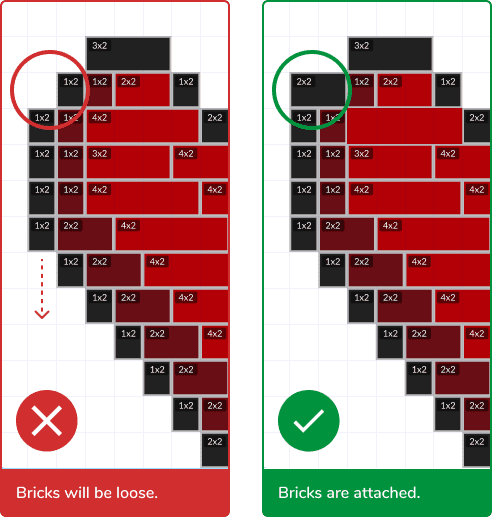
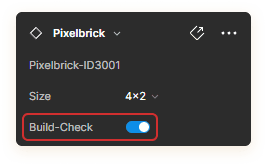
3. Checking your build
After finishing, always check your build! So you can fix loose bricks or increase stability within sections by placing more overlapping bricks.
How do I use the plugin? 🛠
1. Get the plugin here: Link. Once you run it click on “Insert Builder Template”.
This will add two frames and the bricks along with the color styles.
2. When you are happy with your pixel art, select the frame and click "Create Brick List" to generate a list of all the bricks used in your build.
How do I order my Lego bricks? 🚀
1. Visit BrickLink and log in or create an account.
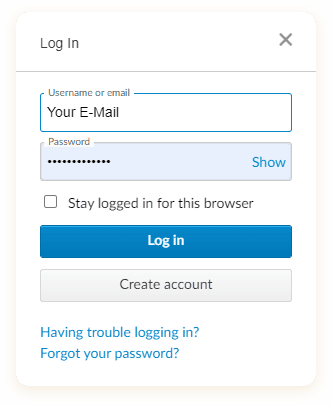
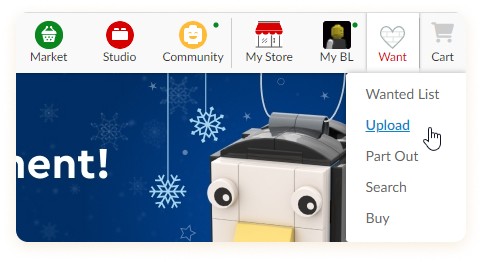
2. Once you are logged in, click on "Upload" below the "Want" tab. Shortcut here: Link
3. Switch the tab to “Upload BrickLink XML format”.
4. Paste your Brick list. Optionally you can also create a Wanted list. Otherwise you can continue by clicking "Proceed to verify items".
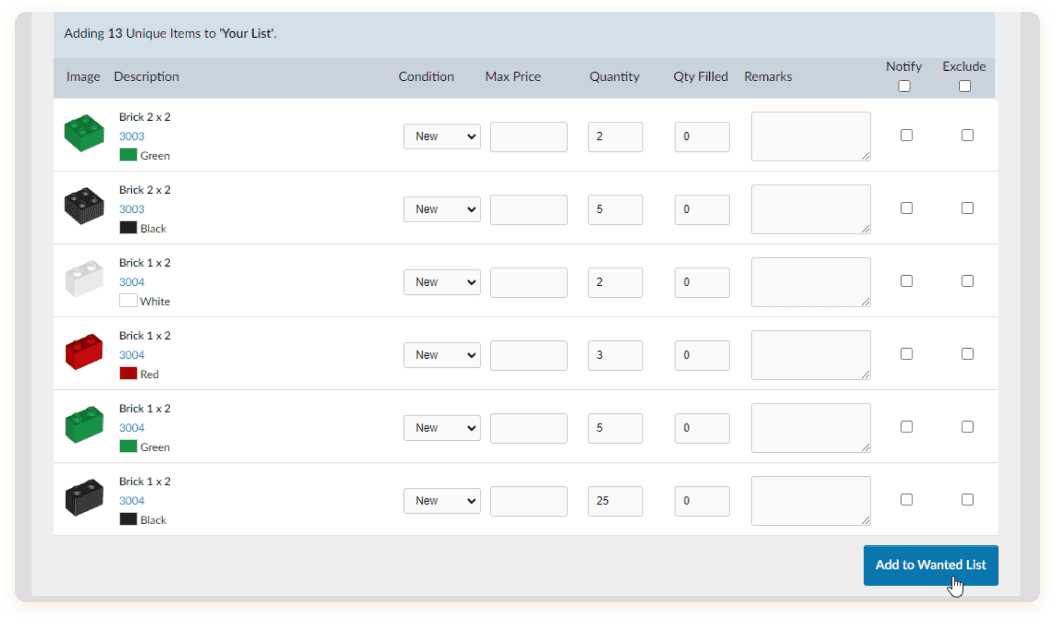
5. Click on the "Add to Wanted List" button at the bottom. Your list is now successfully uploaded to BrickLink as a Wanted List.
6. Continue by clicking on “View Your List”.
7. Continue by clicking on “Buy all”.
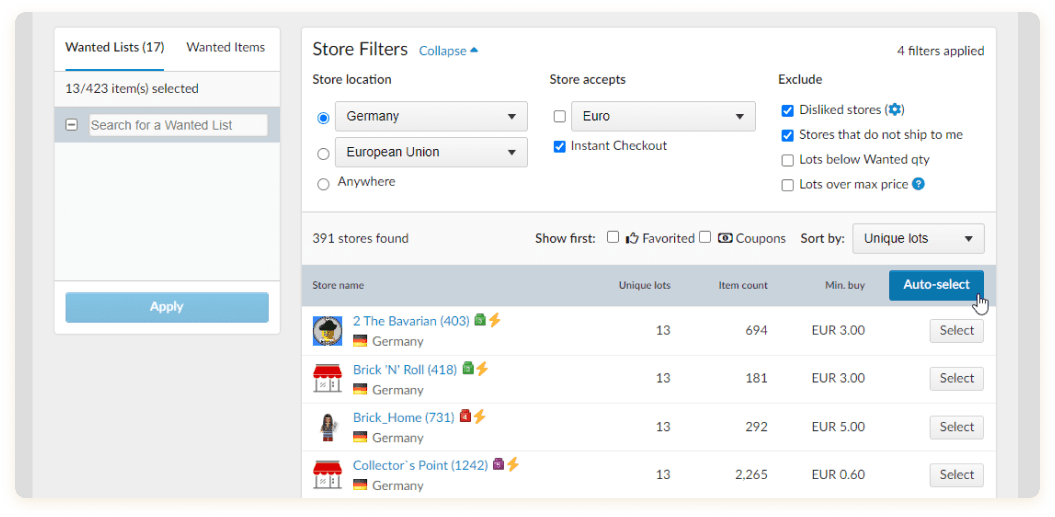
8. BrickLink can automatically find and compare stores where you can buy the bricks. You might limit the choices upfront by using the different filters, especially the "Store Location". Click on "Auto-select" to start the search process.
BrickLink is a worldwide LEGO brick marketplace. There are several major and small stores with different offers and costs. As a result, you need to locate one or more stores that can provide the bricks you want. Remember that each store has its own shipping rates, minimum purchase value, and other policies.
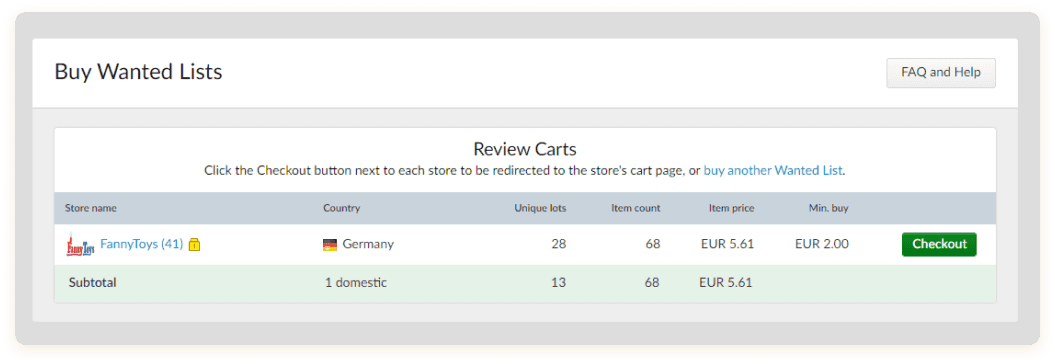
9. Once BrickLink has finished calculating, the stores that together sell the bricks from your parts list at the cheapest price will show at the top. When you are happy with the choices, click "Create carts", and the shopping cart(s) at the individual store(s) will be created automatically.
10. To complete the order process click on "Checkout" for each individual BrickLink stores.
